Hypermodern Python Chapter 5: Documentation

In this fifth installment of the Hypermodern Python series, I’m going to discuss how to add documentation to your project.1 In the previous chapter, we discussed how to add type annotations and type checking. (If you start reading here, you can also download the code for the previous chapter.)
Here are the topics covered in this chapter on documentation:
- Documenting code with Python docstrings
- Linting code documentation with flake8-docstrings
- Adding docstrings to Nox sessions
- Adding docstrings to the test suite
- Validating docstrings against function signatures with darglint
- Running documentation examples with xdoctest
- Creating documentation with Sphinx
- Writing documentation using reStructuredText
- Generating API documentation with autodoc
Here is a full list of the articles in this series:
- Chapter 1: Setup
- Chapter 2: Testing
- Chapter 3: Linting
- Chapter 4: Typing
- Chapter 5: Documentation (this article)
- Chapter 6: CI/CD
This guide has a companion repository: cjolowicz/hypermodern-python. Each article in the guide corresponds to a set of commits in the GitHub repository:
Documenting code with Python docstrings

Documentation strings,
also known as docstrings,
allow you to embed documentation directly into your code.
An example of a docstring is the first line of console.main,
used by Click to
generate the usage message of your command-line interface:
# src/hypermodern_python/console.py
def main(language: str) -> None:
    """The hypermodern Python project."""
Documentation strings communicate
the purpose and usage of a module, class, or function
to other developers reading your code.
Unlike comments, the Python bytecode compiler does not throw them away,
but adds them to the __doc__ attribute of documented objects.
This allows tools like Sphinx
to generate API documentation from your code.
You can document your entire package
by adding a docstring to the top of __init__.py:
# src/hypermodern_python/__init__.py
"""The hypermodern Python project."""
Document the modules in your package by adding docstrings
to the top of their respective source files.
Here’s one for the console module:
# src/hypermodern_python/console.py
"""Command-line interface."""
And here’s a docstring for the wikipedia module:
# src/hypermodern_python/wikipedia.py
"""Client for the Wikipedia REST API, version 1."""
So far we have used one-line docstrings. Docstrings can also consist of multiple lines. By convention, the first line is separated from the rest of the docstring by a blank line. This structures the docstring into a summary line and a more elaborate description.
Docstring summaries can include useful information about class attributes, function parameters, return values, and other things. A common format for this with good readability and tooling support is the Google docstring style. Other options are the Sphinx and NumPy formats. In this chapter, we adopt the Google style.
The following example shows a multi-line docstring for the wikipedia.Page class,
describing the class attributes in Google style.
Docstrings for classes are added to the first line of the class definition:
# src/hypermodern_python/wikipedia.py
@dataclass
class Page:
    """Page resource.

    Attributes:
        title: The title of the Wikipedia page.
        extract: A plain text summary.
    """

    title: str
    extract: str
Similarly, you can document functions by
adding docstrings to the first line of the function body.
Here is a multi-line docstring for the wikipedia.random_page function,
describing the function parameters and return value,
as well as exceptions raised by the function:
# src/hypermodern_python/wikipedia.py
def random_page(language: str = "en") -> Page:
    """Return a random page.

    Performs a GET request to the /page/random/summary endpoint.

    Args:
        language: The Wikipedia language edition. By default, the English
            Wikipedia is used ("en").

    Returns:
        A page resource.

    Raises:
        ClickException: The HTTP request failed or the HTTP response
            contained an invalid body.
    """
Linting code documentation with flake8-docstrings

The flake8-docstrings plugin uses the tool pydocstyle to check that docstrings are compliant with the style recommendations of PEP 257. Warnings range from missing docstrings to issues with whitespace, quoting, and docstring content.
Add the plugin to your development dependencies:
poetry add --dev flake8-docstrings
Install the plugin into the linting session:
# noxfile.py
@nox.session(python=["3.8", "3.7"])
def lint(session: Session) -> None:
    args = session.posargs or locations
    install_with_constraints(
        session,
        "flake8",
        "flake8-annotations",
        "flake8-bandit",
        "flake8-black",
        "flake8-bugbear",
        "flake8-docstrings",
        "flake8-import-order",
    )
    session.run("flake8", *args)
Configure Flake8 to enable the plugin warnings
(D for docstring)
and adopt the
Google docstring style:
# .flake8
select = ANN,B,B9,BLK,C,D,E,F,I,S,W
docstring-convention = google
Run nox -rs lint now,
and the plugin will report missing docstrings.
This is because
the test suite and the Nox sessions are still undocumented.
Adding docstrings to Nox sessions
Docstrings in Nox sessions make your noxfile.py
a friendly, welcoming place for contributors
(as well as for yourself a few months down the road).
This is especially true since
Nox shows them when you list the sessions using
--list-sessions.
# noxfile.py
"""Nox sessions."""

def install_with_constraints(session: Session, *args: str, **kwargs: Any) -> None:
    """Install packages constrained by Poetry's lock file."""

def black(session: Session) -> None:
    """Run black code formatter."""

def lint(session: Session) -> None:
    """Lint using flake8."""

def safety(session: Session) -> None:
    """Scan dependencies for insecure packages."""

def mypy(session: Session) -> None:
    """Type-check using mypy."""

def pytype(session: Session) -> None:
    """Type-check using pytype."""

def tests(session: Session) -> None:
    """Run the test suite."""

def typeguard(session: Session) -> None:
    """Runtime type checking using Typeguard."""
Nox now gives you a quick and informative overview of the developer tasks it automates:
$ nox --list-sessions

Sessions defined in …/hypermodern-python/noxfile.py:

- black -> Run black code formatter.
* lint-3.8 -> Lint using flake8.
* lint-3.7 -> Lint using flake8.
* safety -> Scan dependencies for insecure packages.
* mypy-3.8 -> Type-check using mypy.
* mypy-3.7 -> Type-check using mypy.
* pytype -> Type-check using pytype.
* tests-3.8 -> Run the test suite.
* tests-3.7 -> Run the test suite.
- typeguard-3.8 -> Runtime type checking using Typeguard.
- typeguard-3.7 -> Runtime type checking using Typeguard.

sessions marked with * are selected, sessions marked with - are skipped.
Adding docstrings to the test suite
Docstrings for test cases are a great way to improve the readability of your test suite. They help you keep test function names succinct without becoming obscure, and they can be used to make test output more friendly.
Here are three useful guidelines about documenting test cases:
- State the expected behaviour and be specific about it.
- Omit everything that already follows from the fact that it is a test case. For example, avoid words like “test if”, “correctly”, “should”.
- Use “it” to refer to the system under test. There is no need to repeatedly name the function or class you are testing. (A better place for that is the docstring of the test module, or the test class if you use those.)
The following example demonstrates how you can write a docstring for a test case:
# tests/test_console.py
def test_main_succeeds(runner: CliRunner, mock_requests_get: Mock) -> None:
    """It exits with a status code of zero."""
I will not repeat all the docstrings for the test suite in this section. You can take a look at the specific changes in the companion repository if you are interested.
Validating docstrings against function signatures with darglint
Documentation has a nasty habit of getting out of step with a codebase. Embedding it in the codebase mitigates this problem, and that is part of what makes docstrings so useful: They sit right next to what they describe, so they’re easy to keep in sync.
Alas, docstrings too are subject to that mysterious force driving code and documentation apart. The good news is that – by following a docstring convention like Google style – you make it possible for tools to detect this drift.
Darglint
checks that docstring descriptions match function definitions,
and integrates with Flake8 as a plugin.
For example, imagine
you renamed the language parameter of wikipedia.random_page to lang
but forgot to update the docstring.
Darglint would notice and remind you with the following warnings:
wikipedia.py:37:1: DAR101 Missing parameter(s) in Docstring: - lang
wikipedia.py:38:1: DAR102 Excess parameter(s) in Docstring: + language
Add Darglint to your development dependencies:
poetry add --dev darglint
Install the tool into the linting session:
# noxfile.py
@nox.session(python=["3.8", "3.7"])
def lint(session: Session) -> None:
    """Lint using flake8."""
    args = session.posargs or locations
    install_with_constraints(
        session,
        "flake8",
        "flake8-annotations",
        "flake8-bandit",
        "flake8-black",
        "flake8-bugbear",
        "flake8-docstrings",
        "flake8-import-order",
        "darglint",
    )
    session.run("flake8", *args)
Unlike other plugins,
darglint enables most of its warnings by default.
For consistency and to future-proof your Flake8 configuration,
enable the plugin warnings explicitly
(DAR like darglint):
# .flake8
[flake8]
select = ANN,B,B9,BLK,C,D,DAR,E,F,I,S,W
By default, Darglint requires every docstring to
completely specify parameters, return value, and exceptions.
In some cases, this is not desirable.
For example,
documenting the parameters of test functions or Nox sessions
would mostly create redundancy.
Configure darglint to accept one-line docstrings,
using the .darglint configuration file:
# .darglint
[darglint]
strictness = short
Running documentation examples with xdoctest
A good way to explain how to use your function or module is to include an example in its docstring. Good examples can substitute for long explanations, and humans are great at learning from examples.
By convention, docstring examples are written as if entered at a Python prompt.
Below is an example (pun intended) from the documentation of wikipedia.random_page:
# src/hypermodern_python/wikipedia.py
def random_page(language: str = "en") -> Page:
    """Return a random page.

    Performs a GET request to the /page/random/summary endpoint.

    Args:
        language: The Wikipedia language edition. By default, the English
            Wikipedia is used ("en").

    Returns:
        A page resource.

    Raises:
        ClickException: The HTTP request failed or the HTTP response
            contained an invalid body.

    Example:
        >>> from hypermodern_python import wikipedia
        >>> page = wikipedia.random_page(language="en")
        >>> bool(page.title)
        True
    """
You may wonder why the example converts the page title to bool
before printing it to the console.
Admittedly, this makes the example less expressive,
but on the upside, the example becomes reproducible.
After all, it is impossible to know in advance which data the function returns.
Why would you want the example to be reproducible?
Because this makes it possible to run the example as a test.
The xdoctest package runs the examples in your docstrings and compares the actual output to the expected output as per the docstring. This serves multiple purposes:
- The example is checked for correctness.
- You ensure that the documentation is up-to-date.
- Your codebase gets additional test coverage for free.
Add the tool to your developer dependencies:
poetry add --dev xdoctest
Add the following Nox session to install and run Xdoctest. The session also installs your package, because both the tool itself and your examples need to be able to import it.
# noxfile.py
@nox.session(python=["3.8", "3.7"])
def xdoctest(session: Session) -> None:
    """Run examples with xdoctest."""
    args = session.posargs or ["all"]
    session.run("poetry", "install", "--no-dev", external=True)
    install_with_constraints(session, "xdoctest")
    session.run("python", "-m", "xdoctest", package, *args)
By default, the Nox session uses the all subcommand to run all examples.
You can also list the examples using the list subcommand,
or run specific examples:
nox -rs xdoctest -- random_page
Xdoctest integrates with Pytest as a plugin,
so you could also install the tool into your existing Nox session for Pytest,
and enable it via the --xdoctest option.
We are using it in stand-alone mode here,
which has the advantage of keeping unit tests and doctest separate.
Creating documentation with Sphinx
Sphinx is the documentation tool used by the official Python documentation and many open-source projects. Add Sphinx to your development dependencies:
poetry add --dev sphinx
Create a directory docs.
The master document is located in the file docs/index.rst.
Let’s start with a simple placeholder text:
This is docs/index.rst,
documenting the Hypermodern Python project.
Create the Sphinx configuration file docs/conf.py.
This provides meta information about your project:
# docs/conf.py
"""Sphinx configuration."""
project = "hypermodern-python"
author = "Your Name"
copyright = f"2020, {author}"
Add a Nox session to build the documentation:
# noxfile.py
@nox.session(python="3.8")
def docs(session: Session) -> None:
    """Build the documentation."""
    install_with_constraints(session, "sphinx")
    session.run("sphinx-build", "docs", "docs/_build")
For good measure, include docs/conf.py in the linting session:
# noxfile.py
locations = "src", "tests", "noxfile.py", "docs/conf.py"
Run the Nox session:
nox -rs docs
You can now open the file docs/_build/index.html in your browser
to view your documentation offline.
Writing documentation using reStructuredText
Sphinx documentation is commonly written using reStructuredText (reST), although Markdown is also supported. reStructuredText may not be as lightweight as Markdown, but its expressiveness and extensibility, among other reasons, make it more suitable for writing technical documentation.
Open the file docs/index.rst,
and replace the placeholder text with the following document:
The Hypermodern Python Project
==============================

The example project for the
`Hypermodern Python <https://medium.com/@cjolowicz/hypermodern-python-d44485d9d769>`_
article series.
The command-line interface prints random facts to your console,
using the `Wikipedia API <https://en.wikipedia.org/api/rest_v1/#/>`_.


Installation
------------

To install the Hypermodern Python project,
run this command in your terminal:

.. code-block:: console

   $ pip install hypermodern-python


Usage
-----

Hypermodern Python's usage looks like:

.. code-block:: console

   $ hypermodern-python [OPTIONS]

.. option:: -l <language>, --language <language>

   The Wikipedia language edition,
   as identified by its subdomain on
   `wikipedia.org <https://www.wikipedia.org/>`_.
   By default, the English Wikipedia is selected.

.. option:: --version

   Display the version and exit.

.. option:: --help

   Display a short usage message and exit.
The Sphinx documentation contains a good introduction to reStructuredText, so I’ll limit myself to explaining the constructs used above.
Headings are created by underlining with a punctuation character:
Usage
-----
Links use this syntax:
`Display text <URL>`_
Code blocks are marked up by the code-block directive:
.. code-block:: python

   print("Hello world")
Command-line options are marked up by the option directive:
.. option:: --help

   Display a short usage message and exit.
Indentation is significant, like in Python. Three spaces are customary, because they line up directives with their content.
Paragraphs are separated by a blank line. Newlines by themselves are just whitespace, and you can turn this to your advantage by treating them as semantic linefeeds: Use newlines to demarcate ideas. Text editors are great at manipulating lines, and version control will also benefit from the smaller diffs.
Here is a paragraph filled to a line length of 79 characters:
The Wikipedia language edition, as identified by its subdomain on `wikipedia.org
<https://www.wikipedia.org/>`_. By default, the English Wikipedia is selected.
Here is the same paragraph using semantic linefeeds:
The Wikipedia language edition,
as identified by its subdomain on
`wikipedia.org <https://www.wikipedia.org/>`_.
By default, the English Wikipedia is selected.
Directives like code-block are Sphinx extensions,
but unlike the fenced code blocks of GitHub Flavored Markdown,
they use a standard extension mechanism built into the base language.
While reStructuredText provides some directives of its own,
Sphinx defines many more,
creating an expressive semantic markup language that
lets you focus on meaning instead of formatting.
Sphinx documentation can be spread over multiple interconnected files.
Let’s see how this works by including the license in the documentation.
Create a file docs/license.rst,
which includes the LICENSE file from the parent directory
using an
include
directive:
License
=======

.. include:: ../LICENSE
Add the license to the navigation sidebar
by adding a
toctree
directive
to the main document in docs/index.rst.
The Hypermodern Python Project
==============================

.. toctree::
   :hidden:
   :maxdepth: 1

   license
The :hidden: option
prevents the table of contents from being inserted into the main document itself,
which makes sense since it is already included in the sidebar.
The :maxdepth: 1 option
turns the navigation sidebar into a flat list,
instead of a nested hierarchy
including the internal structure of each documentation page.
Build the documentation from Nox. After reloading the page in your browser, you should see the license in the navigation sidebar.
nox -rs docs
Generating API documentation with autodoc
In this final section, we use Sphinx to generate API documentation from the documentation strings and type annotations in the package, using three Sphinx extensions:
- autodoc enables Sphinx to generate API documentation from the docstrings in your package.
- napoleon pre-processes Google-style docstrings to reStructuredText.
- sphinx-autodoc-typehints uses type annotations to document the types of function parameters and return values.
The autodoc and napoleon extensions are distributed with Sphinx, so there is no need to install them explicitly.
Add sphinx-autodoc-typehints to your development dependencies:
poetry add --dev sphinx-autodoc-typehints
Install the extension and your own package into the Nox session. Your package is needed so Sphinx can read its documentation strings and type annotations.
# noxfile.py
@nox.session(python="3.8")
def docs(session: Session) -> None:
    """Build the documentation."""
    session.run("poetry", "install", "--no-dev", external=True)
    install_with_constraints(session, "sphinx", "sphinx-autodoc-typehints")
    session.run("sphinx-build", "docs", "docs/_build")
Activate the extensions by declaring them in the Sphinx configuration file:
# docs/conf.py
project = "hypermodern-python"
author = "Your Name"
copyright = f"2020, {author}"
extensions = [
    "sphinx.ext.autodoc",
    "sphinx.ext.napoleon",
    "sphinx_autodoc_typehints",
]
You can now reference docstrings in your Sphinx documentation using directives such as automodule, autoclass, and autofunction.
Create the file docs/reference.rst,
containing the API reference for the project:
Reference
=========

.. contents::
    :local:
    :backlinks: none


hypermodern_python.console
--------------------------

.. automodule:: hypermodern_python.console
   :members:


hypermodern_python.wikipedia
----------------------------

.. automodule:: hypermodern_python.wikipedia
   :members:
The
automodule
directive inserts the documentation for the specified Python module.
With the :members: option,
it also includes documentation for
the classes and functions defined by the module.
The
contents
directive inserts a table of content into the document.
The :local: option avoids including the page title in the table of contents.
The :backlinks: none option avoids linking each section title to the table of contents.
Include the new file in the navigation sidebar,
by updating the toctree directive at the top of docs/index.rst:
The Hypermodern Python Project
==============================

.. toctree::
   :hidden:
   :maxdepth: 1

   license
   reference
Rebuild the documentation from Nox, and refresh your browser tab.
nox -rs docs
Navigate to the Reference page and you should be able to view the generated API documentation.
Thanks for reading!
The next chapter is about Continuous Integration and Delivery.
-
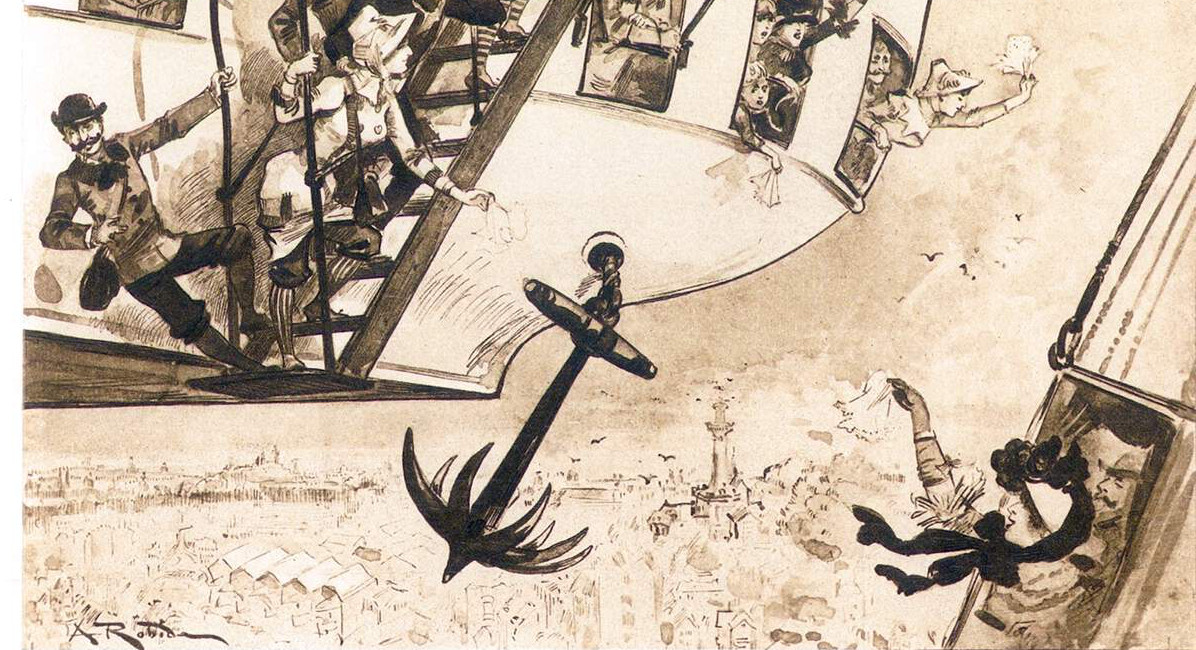
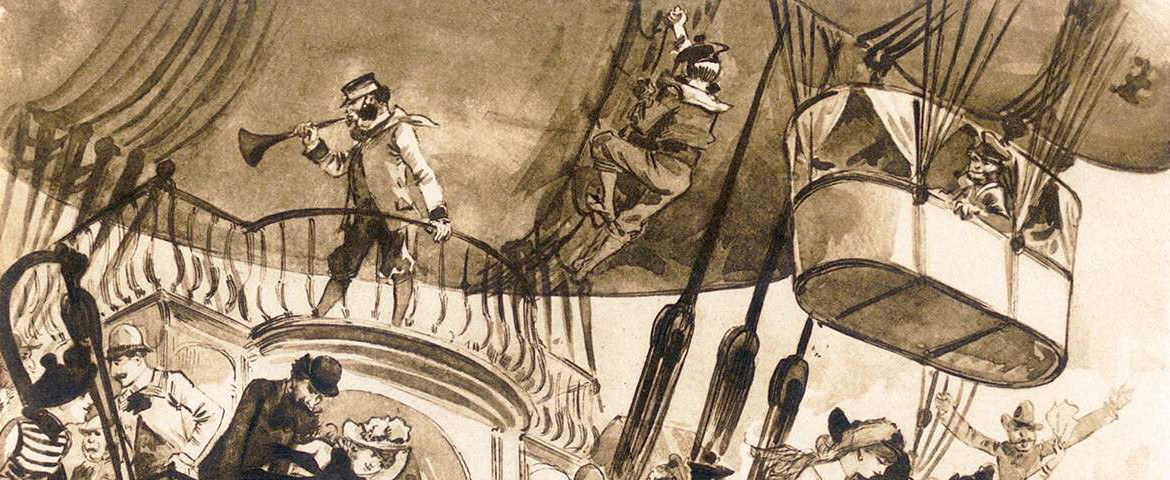
The images in this chapter are details from the photogravures Paris la nuit (Paris by night) and Départ d’un ballon transatlantique (Departure of a transatlantic balloon), and the wood engravings Station centrale des aéronefs à Notre-Dame (Central aircraft station at Notre-Dame) and Maison tournante aérienne (Aerial rotating house), by Albert Robida, 1883 (via Old Book Illustrations). ↩︎